Stack View
Guide to creating diagrams with stack view
The ‘Stack View’ forces grouping of elements within a pre-defined container. Use this feature to keep elements always within a defined container to have a clean layout.
In order to create a Stack View follow these instructions:

A – Click the INSERT ribbon.
B – Click the ‘Stack View’ Icon.

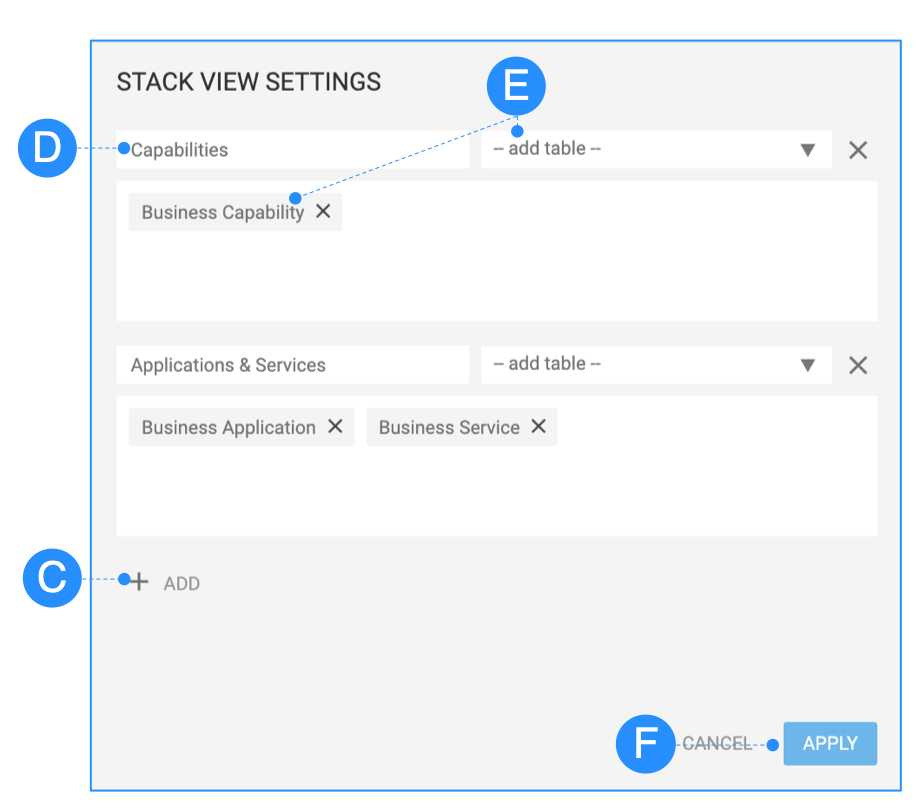
C – Click the ‘+ ADD’ button to add a new Stack.
D – Provide a free text description of the Stack. This can be changed afterwards.
E – Add the table(s) which should be considered within the stack. Repeat the step to add multiple tables.
F – Click the ‘Apply’ button to add the Stacks to the current Diagram.
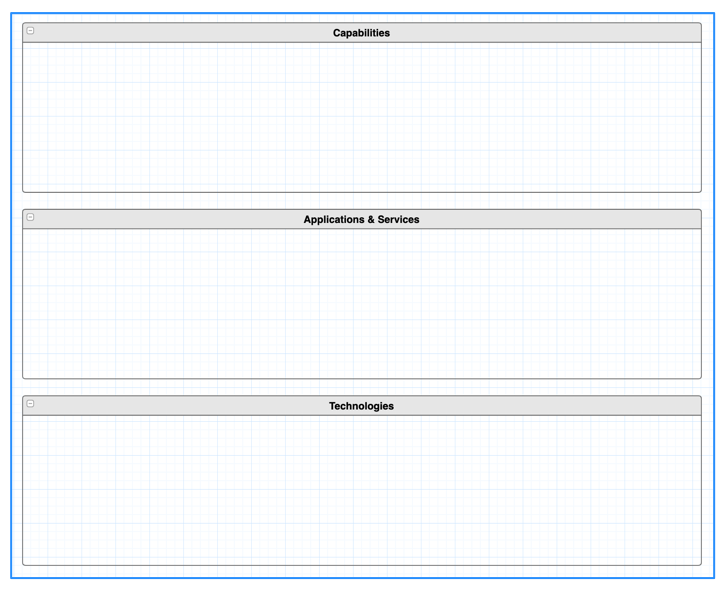
Based on the definition above Stacks (Containers) will be added to the Diagram.

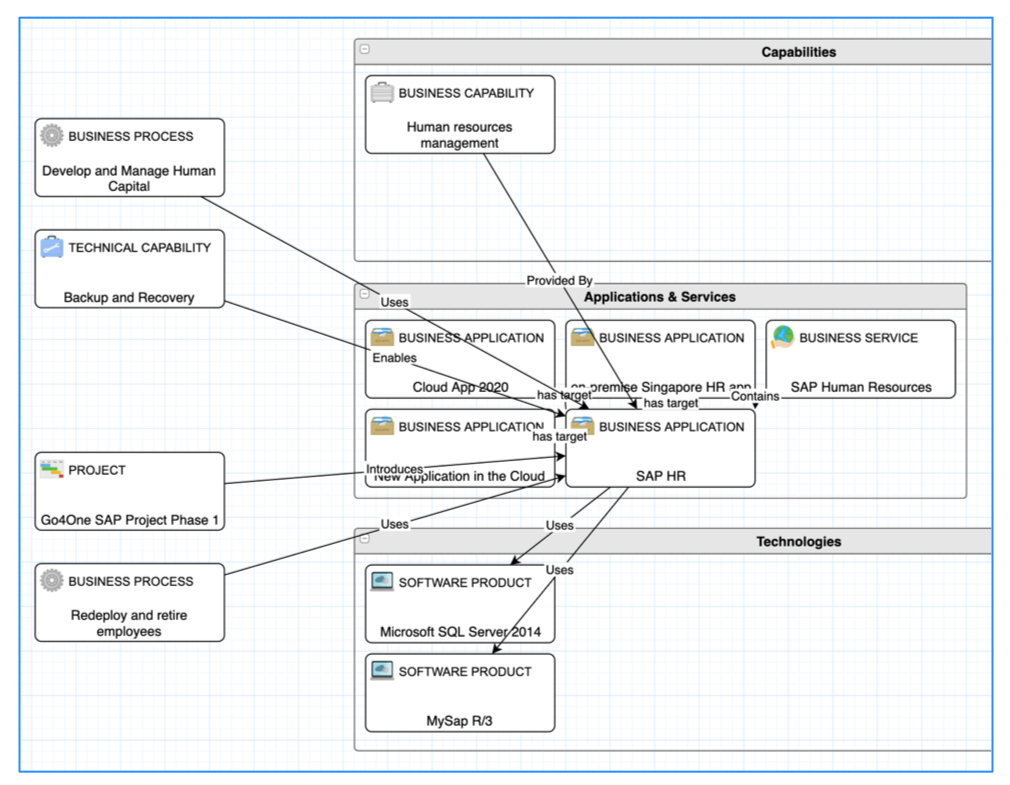
Adding elements will move the shapes into the associated Stack automatically.

Important facts
- Shapes added before the Stack creation will remain outside the Stack unless moved into Stack manually.
- Shapes associated with a Stack can’t be pulled outside the Stack once added.
- Shapes not associated with a Stack can be pulled and removed from a Stack at any time.
- Shapes not associated with a Stack will be positioned outside the Stack.
- Container size, label and styling e.g. lane color can be changed at any time.
- Removing a Stack in the ‘Stack View Settings’ form will remove its content, too.
- Removing a Stack from the canvas will remove its settings from ‘Stack View Settings’ dialog
- A Stack without defined table(s) can’t be added.
Updated 10 months ago
