Shapes and libraries
Explanation on creating shapes and using shape libraries in Designer.
You create diagrams in Designer with shapes to represent different ServiceNow elements. Designer includes hundreds of shapes for you to model business processes with and you can customize shapes via standard SVG formatting.
However, it is recommended that rather than directly use and customize the library include with your initial installation of Designer that you create a new library and add copies, or new shapes, to that library.
It is strongly advised that you create a new library and add new or cloned shapes to it, even if you only plan on using the standard shapes included with Designer
Access the shape library
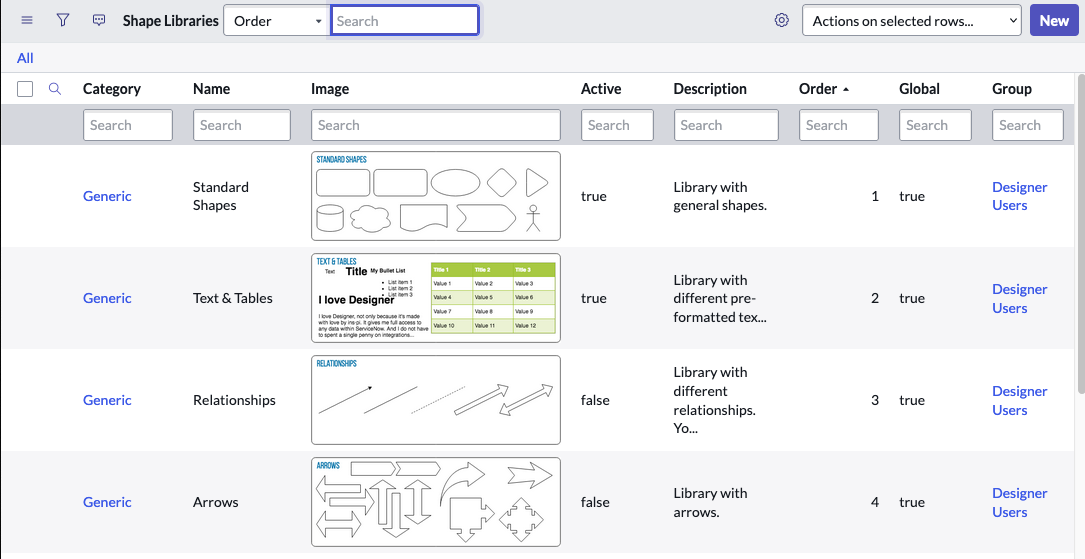
There are two ways to access the shape library, either via Designer or the ServiceNow app navigator. Accessing through Designer results in a different view, but the information is the same.
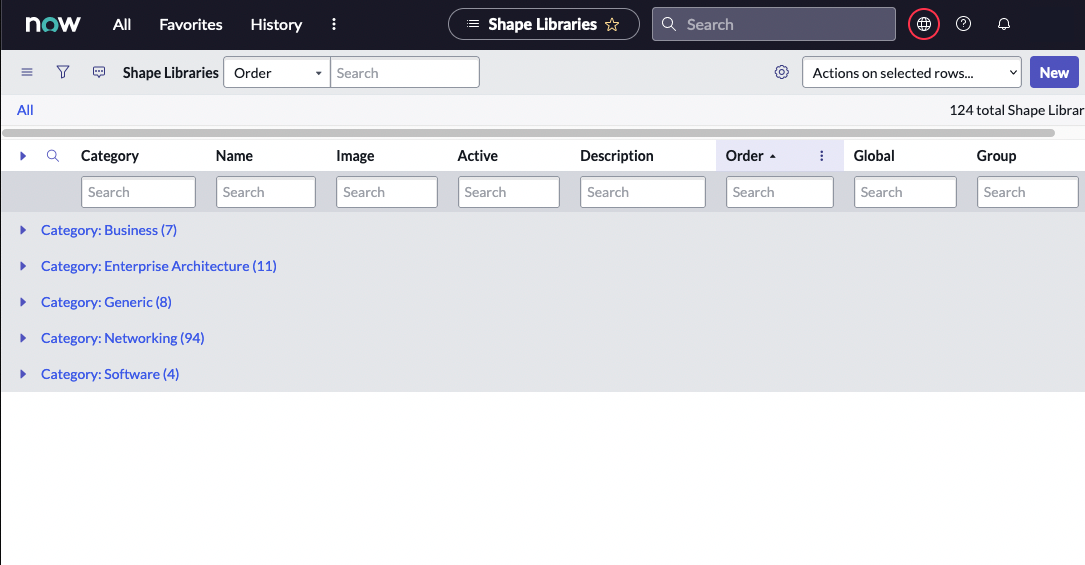
Accessing the shape library from the app navigator shows the libraries grouped per category, whereas accessing the shape library from Designer shows the libraries ungrouped.
Access the shape library from Designer
- Launch Designer.
- Select the cog icon in the shape library.
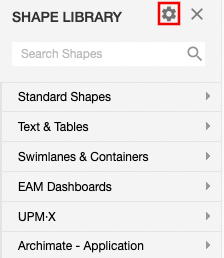
The browser then launches the shape library list.
Access the shape library from the ServiceNow app navigator
- Select all and filter for Designer.
- Select shape library.
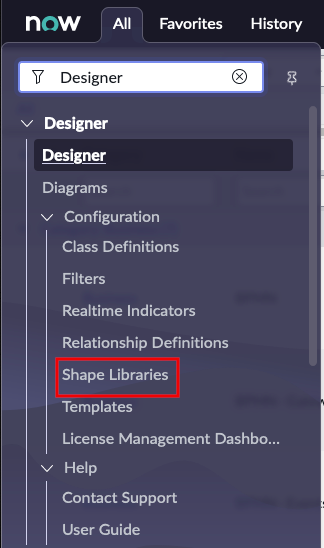
The browser then launches the shape library list.
Activate shape libraries
To ensure that the shape library you wish to include is active and available in Designer:
- From the shape library list, filter for the name of the library you want available in Designer.
If the value is marked False then it is unavailable, to set the library to active:
- Select the i icon to the left of the library you wish to copy and select Open Record.
- Selet the tickbox beside Active to activate the library.
You can also filter for false or true values in the shape library to see all active or inactive libraries.
Create copies of shape libraries
To create copies of shapes, from the shape library list:
- Select the i icon to the left of the library you wish to copy and select Open Record.
- Change the record's name.
- Move your cursor to the grey bar at the top of the record, right-click and select Insert and Stay.
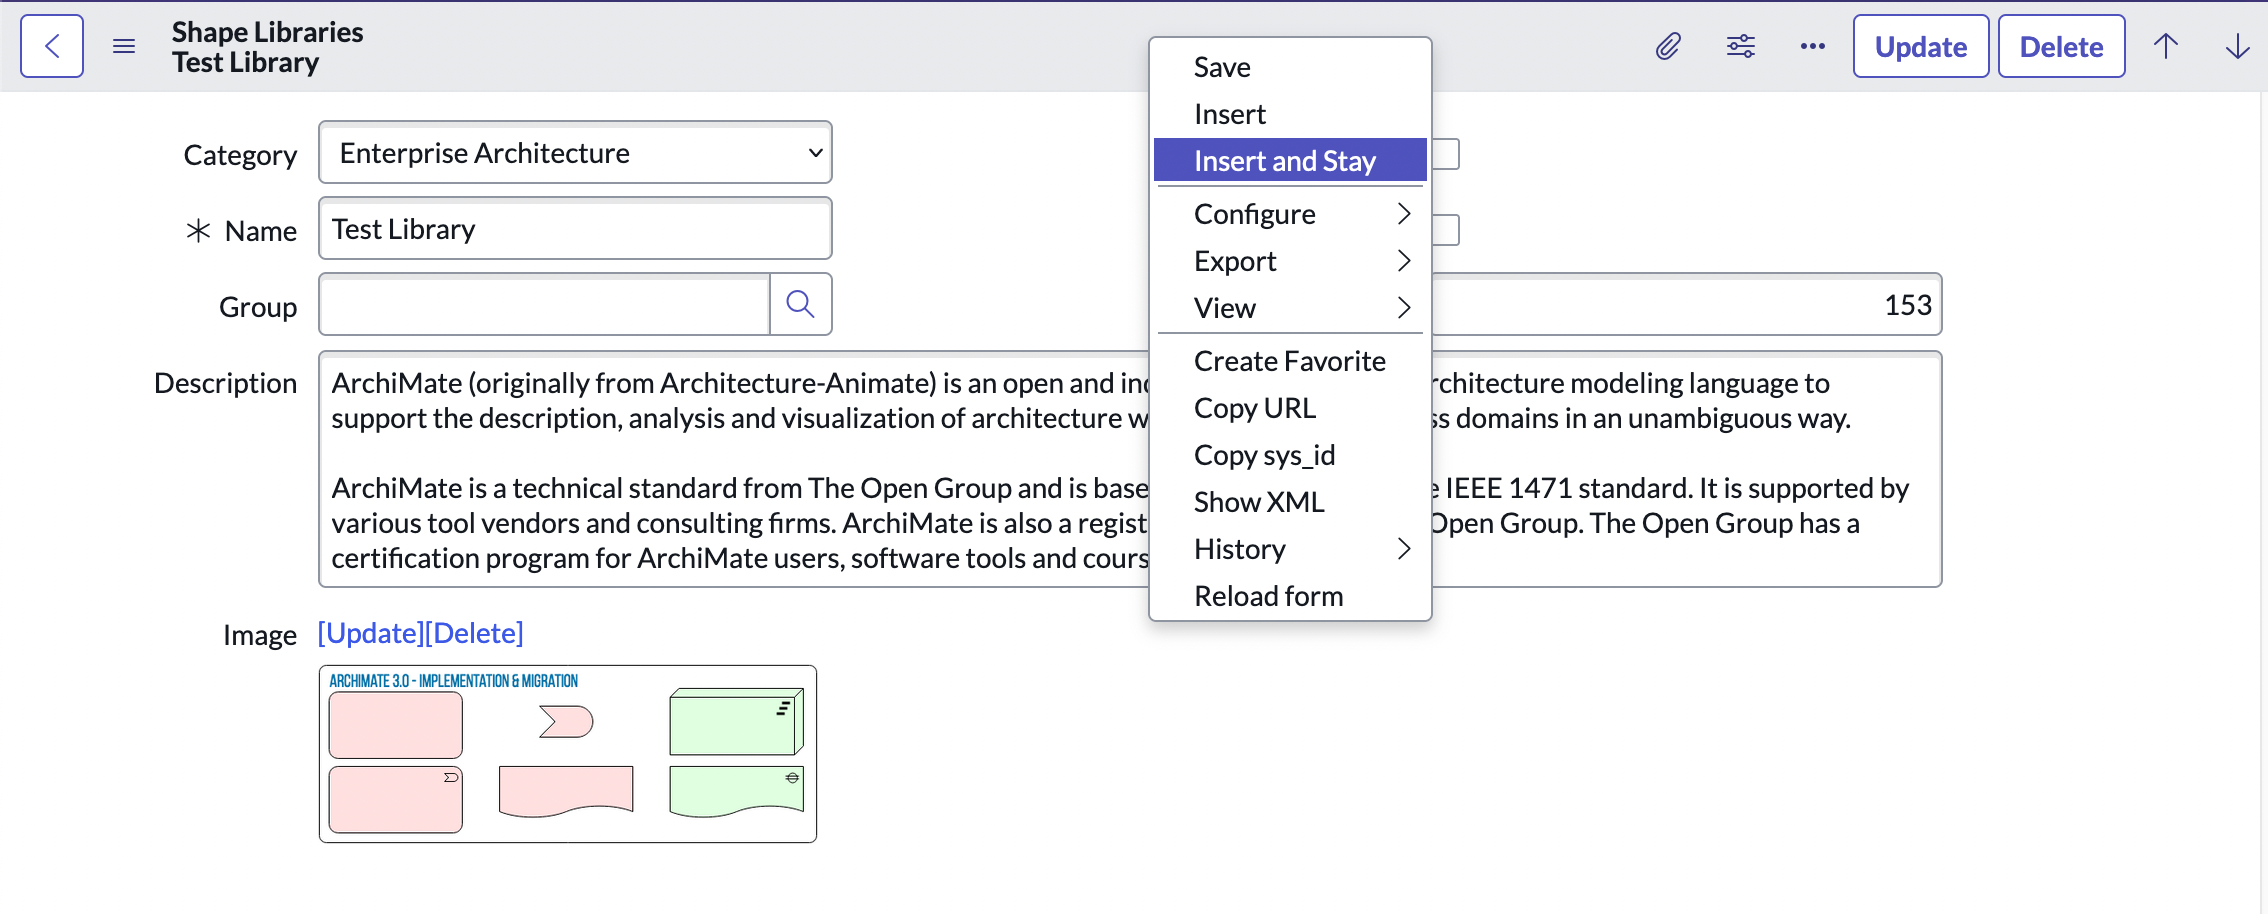
Make sure to select Insert and Stay, do not select Update. Selecting Update will change the name of the existing record rather than creating a clone.
- Click the back button to exit the record.
Create new shape libraries and shapes
To create a shape library you must first create the library and then populate it with shapes.
Create an empty shape library
From the shape library list:
- Select New.
- Fill out the record page. You are only required to fill in the name but it is recommended to add a category at least. By default, the new library is set to active.
- Move your cursor to the grey bar at the top of the record, right-click and select Save.
The record updates and a new table appears where you can add shapes to the library.
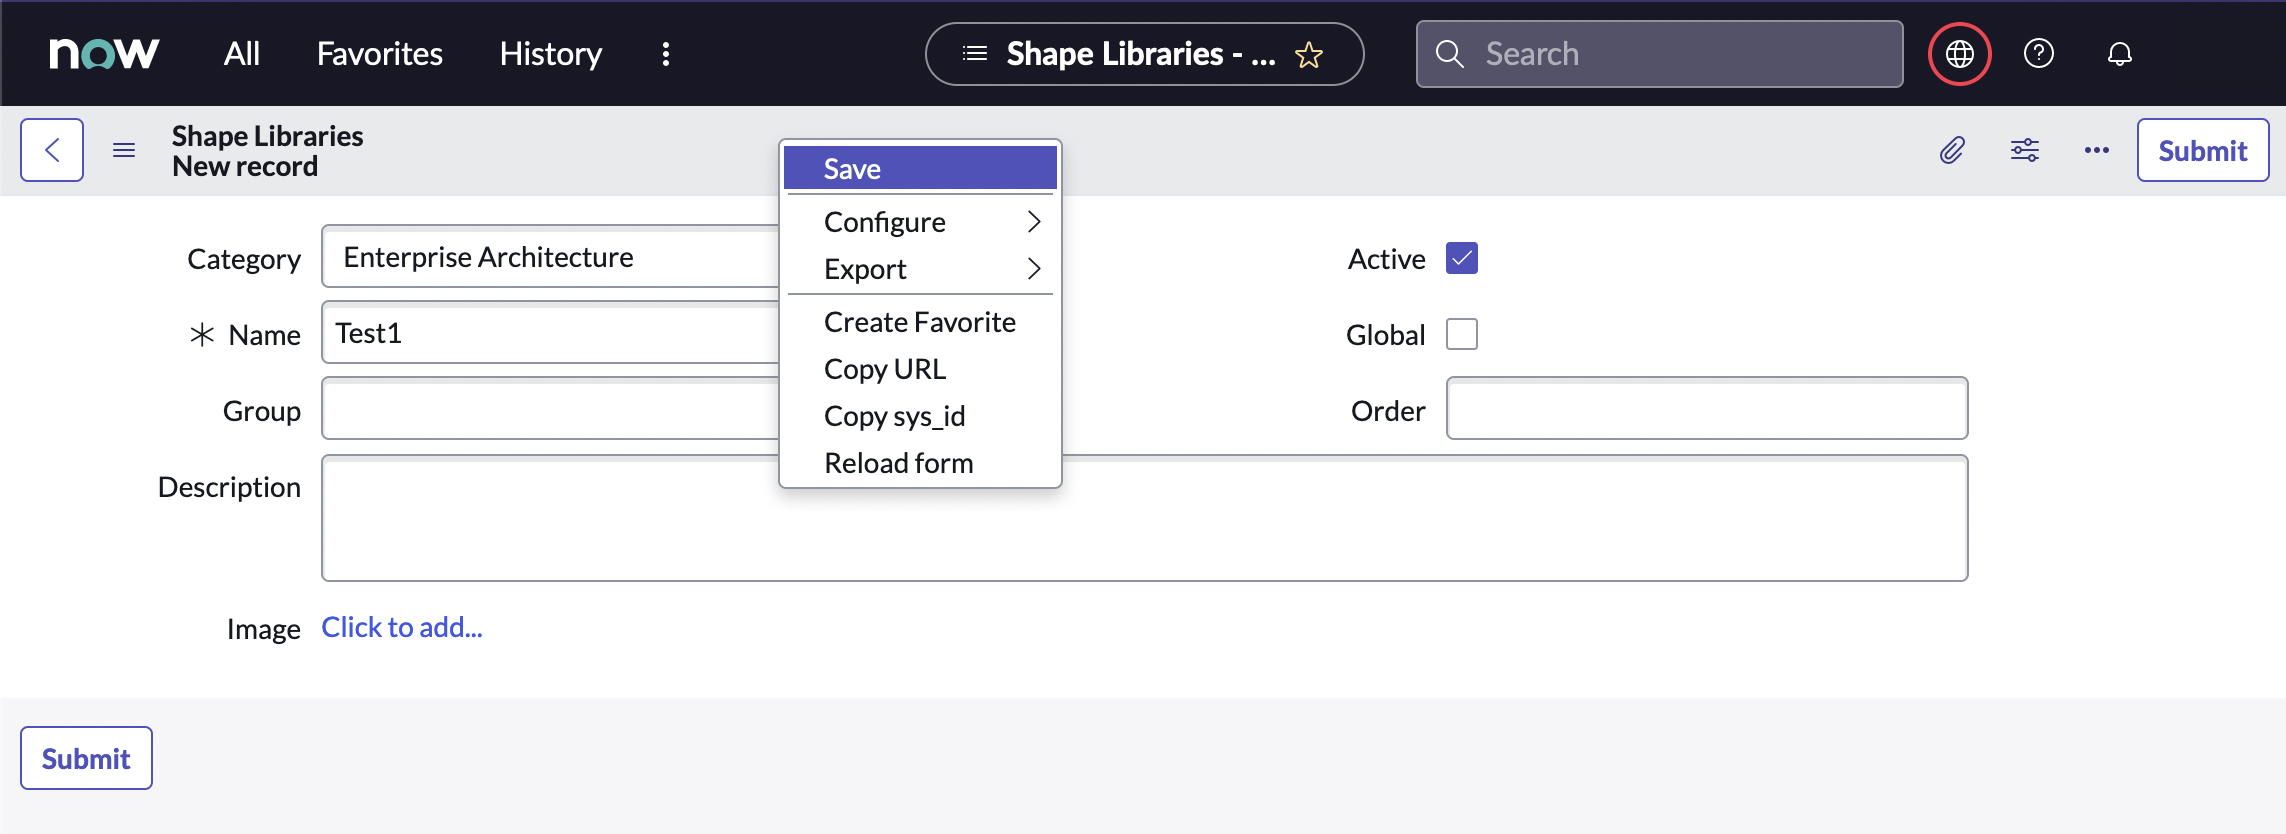
Add shapes to the new shape library
The new shape library should appear at the top of the shape library list, if not filter for it by name. To add shapes to the new shape library:
-
Select the i icon to the left of the library and select Open Record.
-
Select New from the Shapes table.
-
Fill out the record page. Only a name is required but you should include other information, in particular, the styling for the shape.
-
Select Submit.
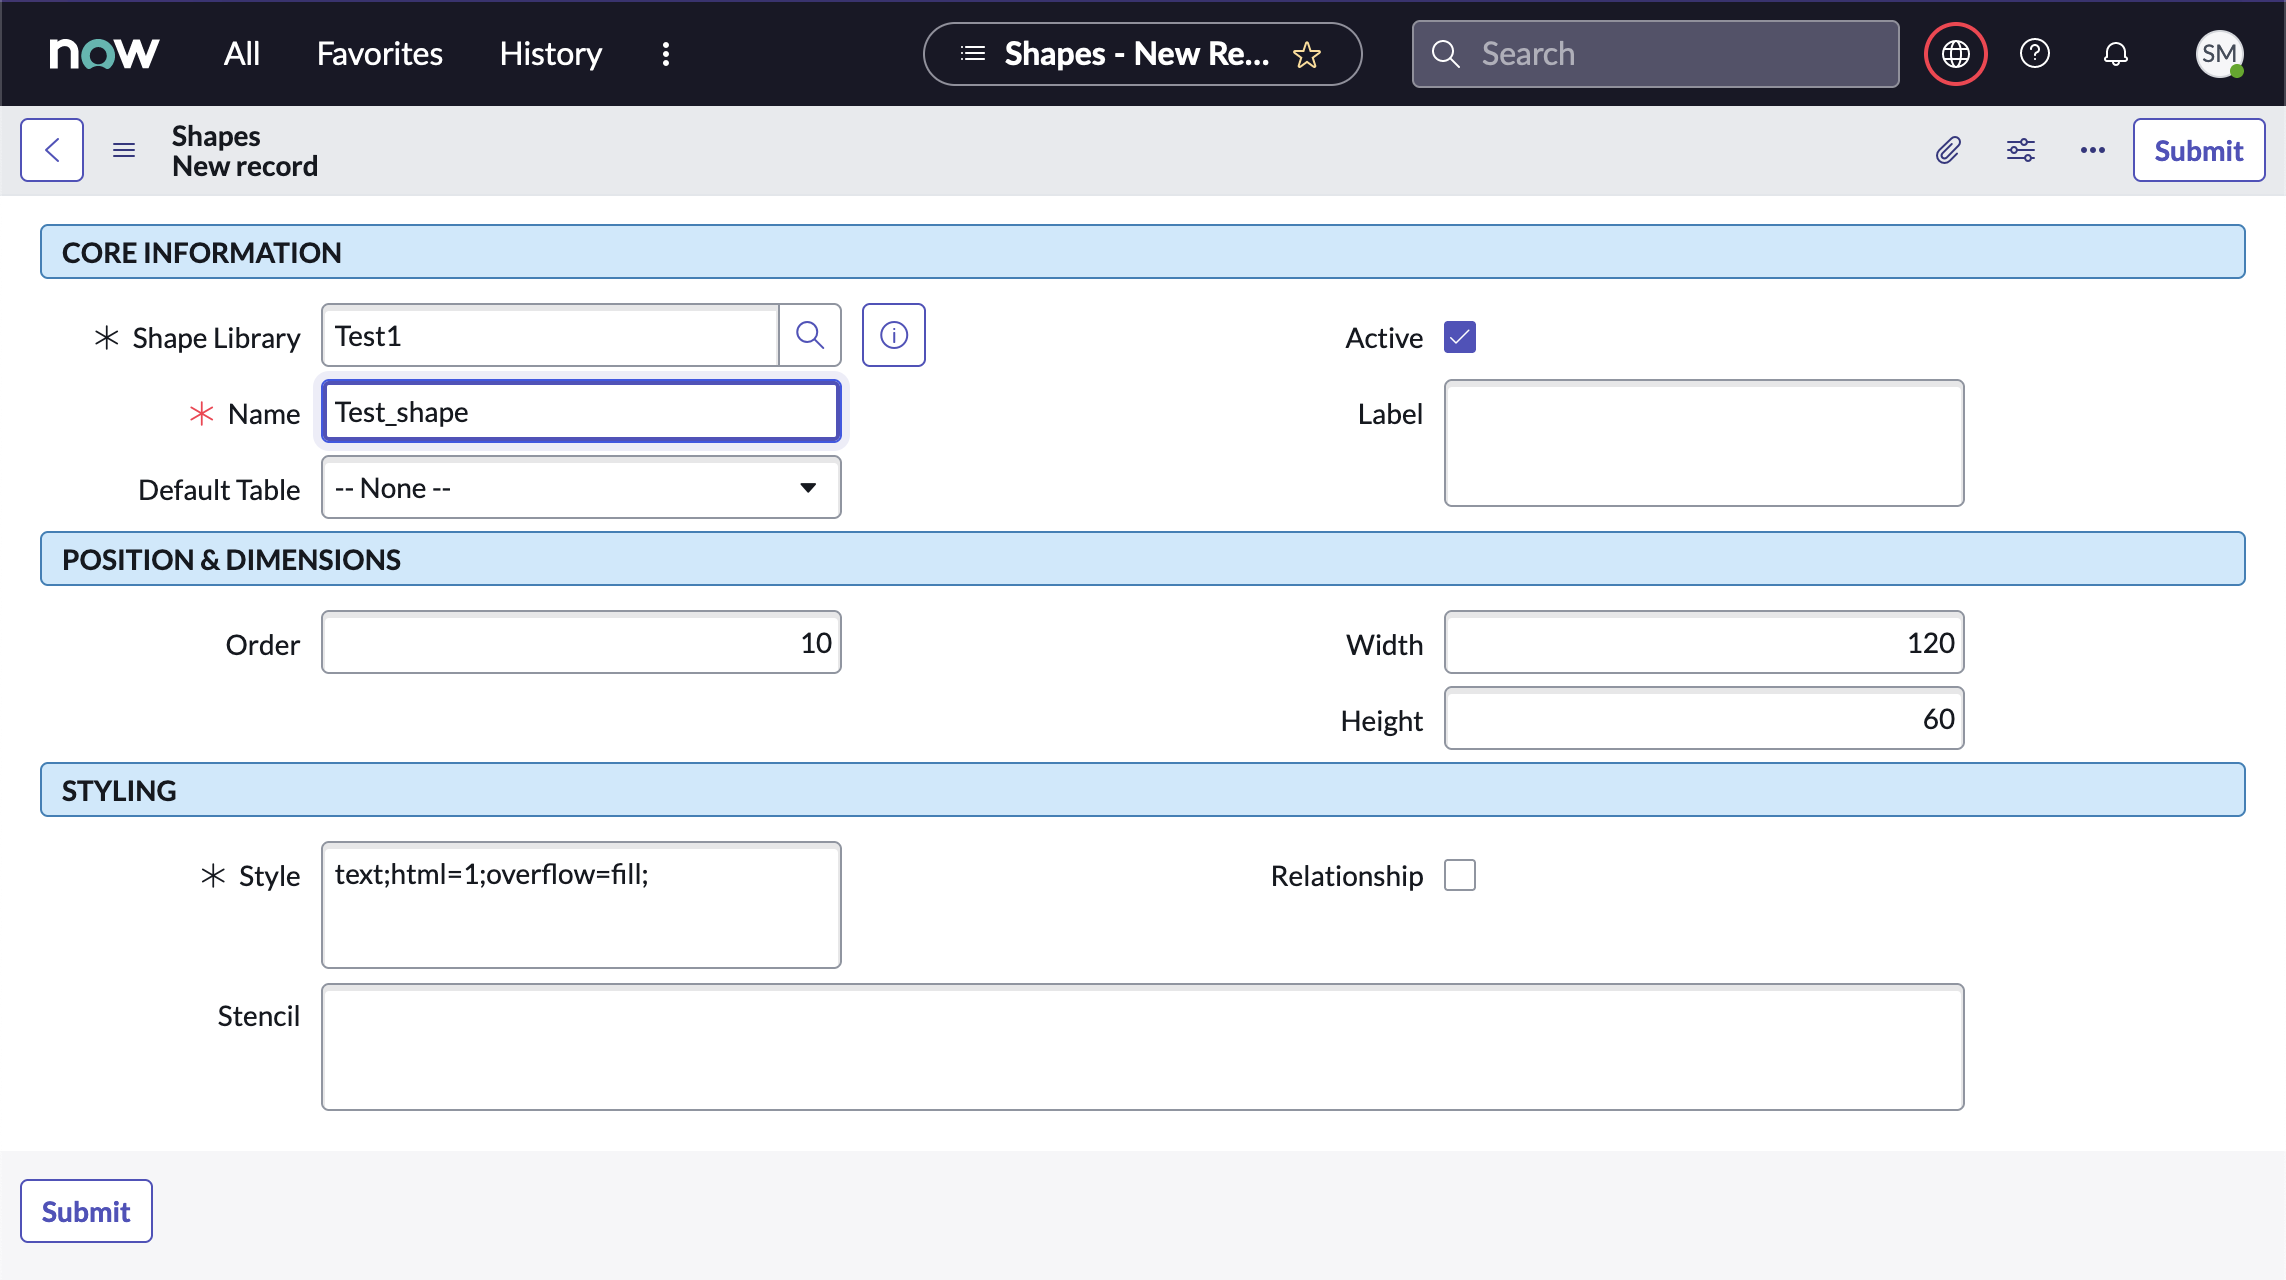
The new shape is added to the library, select Update to update the record.
At this stage, the shape has no styling properties you must customize its style and stencil for it to appear in Designer.
Shapes in Designer are based on standard SVG (an XML-based markup language), you can enter SVG code in the Stencil box to give the shape particular properties.
Updated 10 months ago
