
Global Settings
A complete description of the Global Settings available for Desginer.
Designer Admin Rights RequiredYou need Designer Admin rights to change global settings.
Designer provides an easy method to configure Global Settings for all users.
To access the Global Settings menu:
- Launch the Diagram view.
- Select the 3-line menu (hamburger) button and select Settings. This option is only visible for Designer Admins.
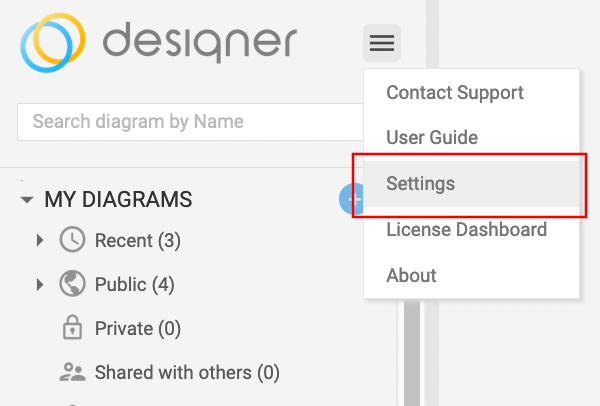
Your browser will take you to the Global Settings menu, each setting includes a short header explaining its function.
General Settings
Key features of the Designer application are configured in this tab.

In summary, the menu items have the following effect:
| Setting | Effect | Note |
|---|---|---|
| Block Approved Diagram | Toggle this option on to prevent further editing of an approved <<glossary:Diagram>>. With this button on, users must clone approved diagrams if they want to make changes. | Designer supports versioning of approved and non-approved diagrams automatically. You can distinguish between different versions on the same <<glossary:Diagram>>. Switch off this option to use the default feature providing higher flexibility. |
| Delete Diagram | Specifies who can delete diagrams, options include: Any User, Diagram Owner, Admin only | |
| Create preview image of diagram | This feature creates a preview of the Diagram in the x_inpgh_des_diagrams table. Since Version 5.0 Designer provides live previews of diagrams. | Deactivating this option decreases the amount of time required to save a diagram |
| Automatic Zoom | Sets the diagram to zoom to fill the screen by default. | |
| Auto Checkout | Enable this so that users automatically checkout diagrams when editing | With this enabled only the user with the diagram checked out can edit it. |
| Auto Checkout Time | Specify the duration for how long a user can have a diagram checked out | |
| Autosave Time | Specify the amount of time between autosave | The user must have autosave enabled during their Designer session for this option to have an effect. |
| Export Image scale | Sets the default resolution for all PNG exports. The larger the scale the greater the file size. | A 200% scale provides sufficient resolution for screen and print presentations for small to medium size diagrams. The scale can be changed by the user for each export. |
| Landing Page | Toogle this setting on and add a landing page to the text box in order to show when initially loading diagrams | |
| Parent field(s) priority for hierarchy | Set a comma-separated list to represent a hierarchy for custom parent fields | E.g. u_parent instead of parent. |
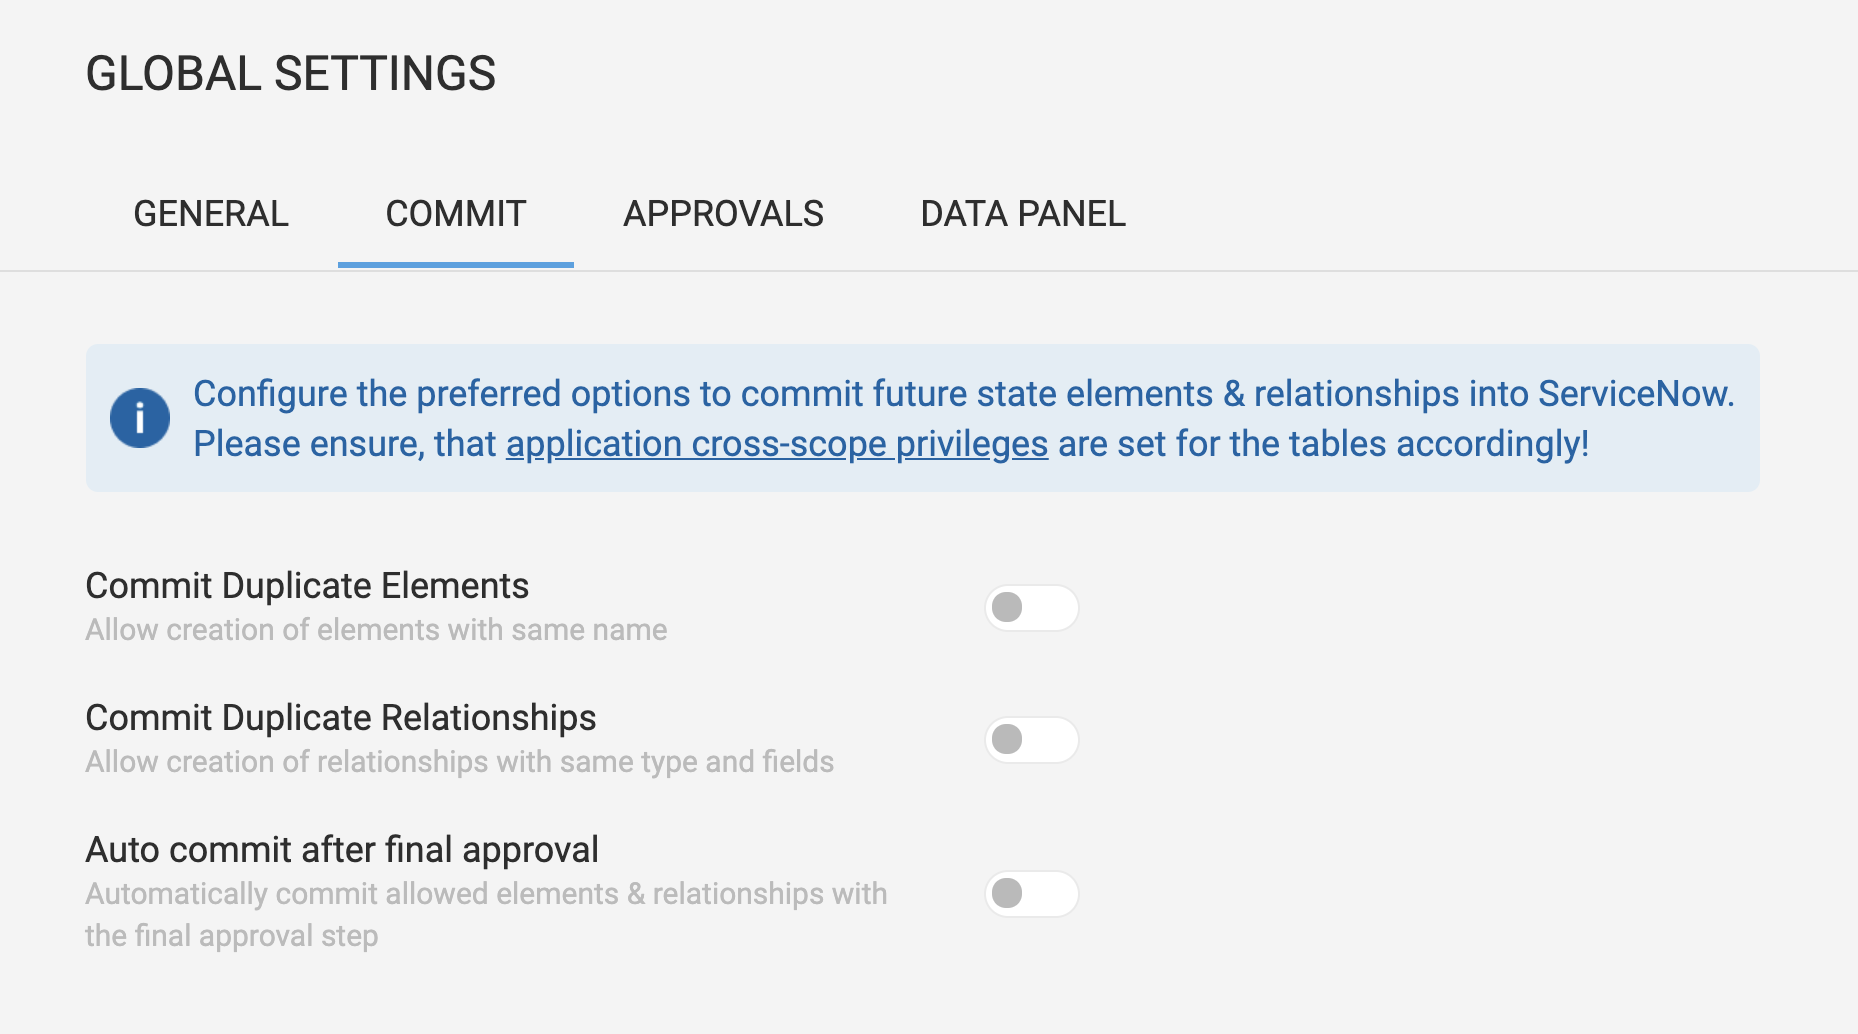
Commit Settings
Options related to committing changes are available in this tab.
In summary, the menu items have the following effect:
| Setting | Effect | Note |
|---|---|---|
| Commit Duplicate Elements | Toggle this option to allow Designer to commit duplicate elements. | For more information on committing elements, see Committing Elements & Relationships. In general, Designer checks the Class Definitions form to prevent duplicate elements based on the "Display Name" settings. See Class Definitions and Cross Scope Privileges for more information |
| Commit Duplicate Relationships | Toggle this option on to enable Designer to commit duplicate relationships | By default Designer checks if a relationship is a duplicate based on the relationship type. For more information on the relationships see Relationship Fields and for more information on committing changes to relationships see Committing Elements & Relationships |
| Auto commit after final approval | This option automatically commits all approved elements and relationships with cross-scope privilege. | For further information see Class Definitions and Cross Scope Privileges |
Application Cross-Scope PrivilegesUse the hyperlinked text within the Settings page blue information box to quickly open the ServiceNow table to set the cross-scope privileges.
Manually Committing Elements & RelationshipsBe aware, that the Auto commit can be bypassed by any user being part of the "Designer Commit" Group/role.
Approvals Settings
Options in this tab relate to workflow approval steps and options.

In summary, the menu items have the following effect:
| Setting | Effect | Note |
|---|---|---|
| Contributor review | This setting enables the Contributor review workflow step, where selected Contributors perform the approval | See further details here: Approval Workflow |
| Assessment review | Activate this option to enable the second step of the workflow, which is performed by the group members of the Design Assessment Group. | See further details here: Approval Workflow |
| Architecture review | Disabling the Architecture review workflow step will disable all other steps. Enable the Architecture review to drive the final approval of a <<glossary:Diagram>> by the Architecture Committee Group members | See further details here: Approval Workflow |
| Allow Creator Approval | Toggle this to enable diagram creators to approve their own diagrams. | The creator must be a part of the assessment group or architecture committee for this to work |
Select the checkbox next to each option to enable multiuser approval.
Data Panel
Options in the Data Panel tab toggle activation and additional fields on the Shape/Relationship Data form.

In summary, the menu items have the following effect:
- Show Notes: Activate to show Notes field. This field content will not be committed and is only available within the
<<glossary:Diagram>>. - Show Expected dates: Activate the Expected dates option to show the Expected Start & Expected Stop dates for planning purposes.
- Show Tooltip: Activate to show the Tooltip field.
- Show Link: Activate to show the hyperlink to the form for committed elements & relationships.
- Show SysID: Activate to show the SysID for committed elements & relationships.
Fields VisibilityAll fields are shown on the Shape/Relationship Data Form (CTRL+M), and on the Data Form on the right hand panel. The above mentioned editable fields are not part of the commit feature!
Custom Fields
Custom fields are user-defined fields added to x_inpgh_des_diagrams. They supplement pre-defined fields, which cannot be changed by users.
After you have added some user-defined fields to the Dictionary in service now, these fields will appear in the Custom Fields tab in Global Settings.
Here you can show or hide these field or select the check box to make them read-only.

Custom buttons
Adding custom buttons provides an easy way to add new buttons, which add further UI actions, to the Designer Form view.
Such actions include triggering a value change to initiate additional logic e.g. triggering a business rule, or a workflow.

| Setting | Effect | Note |
|---|---|---|
| Button Layout | You can change the background color and font color. | |
| Visible if user has role | Select the role the user needs to have to see the button. This can be combined with Visible if User member of group | |
| Visible if User member of group | Select the group membership the user needs to have to see the button. This can be combined with the previous role selection. | |
| Visible if Diagram field | Select the field and value when the button is visible. | |
| Click action | Select the field and target value the button click action should perform. |
When ready to add the button: select Add New Button.
Licences

Updated 12 months ago